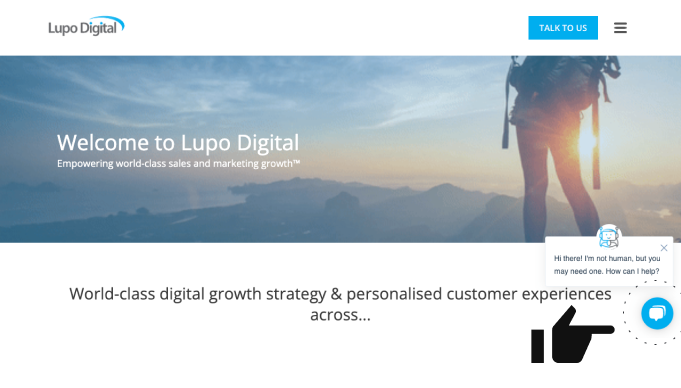
You can easily add HubSpot's live chat feature or chatbot to your website, as a floating widget on a page, which can be seen in the image below.
However, in some cases, you may need or want a dedicated webpage where you can display live chat or chatbot in the content area which can easily be visible to the user. See the example here and through the image below:
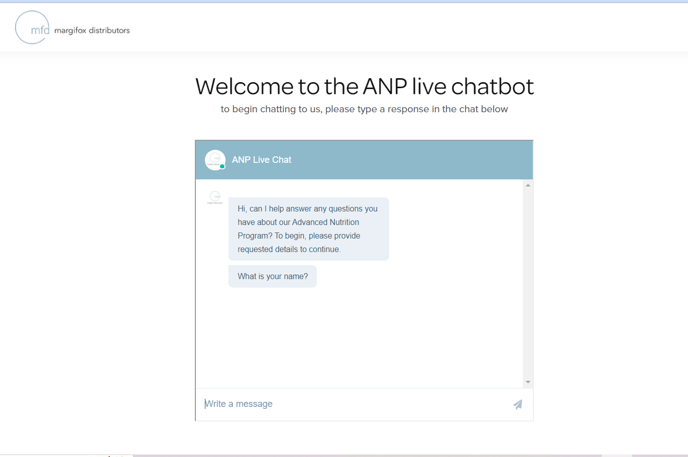
In this knowledge base, we will be covering live chat and chatbot creation only via the HubSpot webpage method. But, the basic principle will be the same if you need to install it on an external (outside HubSpot) webpage.
The following steps are needed to achieve our goal:
 |
 |
 |
| Create a Live Chat | Create a Module | Create a HubSpot page |
1. Create a live chat or chatbot in HubSpot
- On the top menu in HubSpot click on Conversations > Chatflows.
- At the top right click Create chat flow.
- Select Website, Live chat and click Next.
- If you have multiple inboxes set up in your account, click the Select an inbox dropdown and select a different inbox
- Select Who on your team will be shown in the live chat and set the automatic welcome message.
- You can choose to automatically assign conversations to specific team members as well as ask visitors for their email addresses.
- Select your display options at the bottom and then click “Who” on the left menu bar.
- Decide who should see this chat flow and then click “When” on the left menu bar.
- You can now select which pages on your website you would like your live chat to be displayed on.
- Once you are happy, finally select “Options” on the left menu bar and choose your language and privacy settings.
- Once you are done you can then switch on your live chat using the slider at the top right.
Make sure that your website has either the HubSpot tracking code added to the pages with your live chat, or you have installed the HubSpot plugin if it is available for your web platform in order to activate the live chat.
For further details, you can read these HubSpot Knowledge Base articles, Create a live chat and Create a bot.
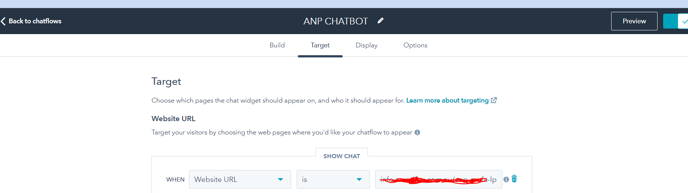
NOTE: When creating the chat flow, make sure you have selected the HS page (the page we are going to build in step 3 below) in the "Target" tab.
2. Create a Module
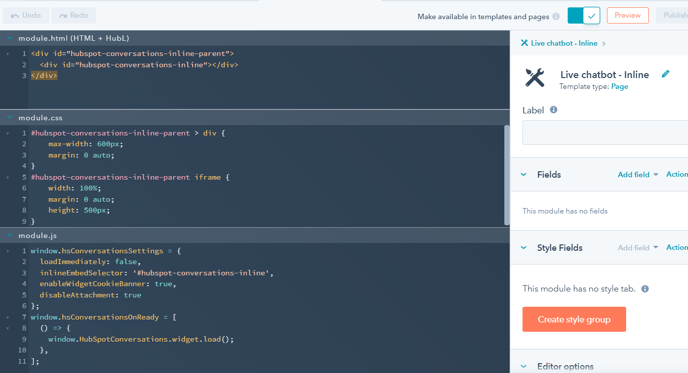
The main idea behind creating a module is to add the HS script which ultimately assists to embed the chat flow on the respective page, and you can easily use the same module on multiple pages.
In HubSpot, go to Marketing > Files and Templates > Design Tools, and add the following code:
(The screenshot below is how the code looks in HubSpot)
module.html >>
<div id="hubspot-conversations-inline-parent">

<div id="hubspot-conversations-inline"></div>

</div>
module.css >>
#hubspot-conversations-inline-parent > div {

max-width: 600px;

margin: 0 auto;

}

#hubspot-conversations-inline-parent iframe {

width: 100%;

margin: 0 auto;

height: 500px;

}
module.js >>
window.hsConversationsSettings = {

loadImmediately: false,

inlineEmbedSelector: '#hubspot-conversations-inline',

enableWidgetCookieBanner: true,

disableAttachment: true

};

window.hsConversationsOnReady = [

() => {

window.HubSpotConversations.widget.load();

},

];
3. Create a HubSpot page
Finally, if you wish to Embed the live chat or chatbot on a website page, Create a HubSpot landing page and add drag and drop module created above in the content area where you want to embed the live chat. Make sure you add this page in the Target tab of the chat flow setting.
Lupo Digital are specialist in HubSpot Services including websites and conversion pages built on HubSpot and the HubSpot CMS. The Lupo development team is also HubSpot integration specialists connecting tech stacks and websites as well as ERP systems. Reach out if you need a hand or to give us feedback about this article.