Contacts and Companies are stored as objects in the HubSpot platform each of which have associated properties. As an example, the Contact object has properties of First Name and Last Name, while the Company object has Name and Address. These are just two examples where in reality objects often have a multitude of properties.
In saying that, Lifecycle Stage is one of the most important object properties in HubSpot and as such it is default property for both Company and Contact objects. It is important to note that the available values for this property are set by HubSpot and are read-only meaning you cannot adjust the elements within the property.
There are 3 ways to attribute Lifecycle stage to a Contact or Company:
Manually Setting a Contact or Company’s Lifecycle Stage Property
- In the HubSpot Contacts or Companies page, search for the target Contact or Company then click on the name or email to proceed to the details page.
- Contact and Company details have the same layout as the screenshot below. On the left-hand side, click on Lifecycle Stage property to view the options, then select the desired new value for this property.
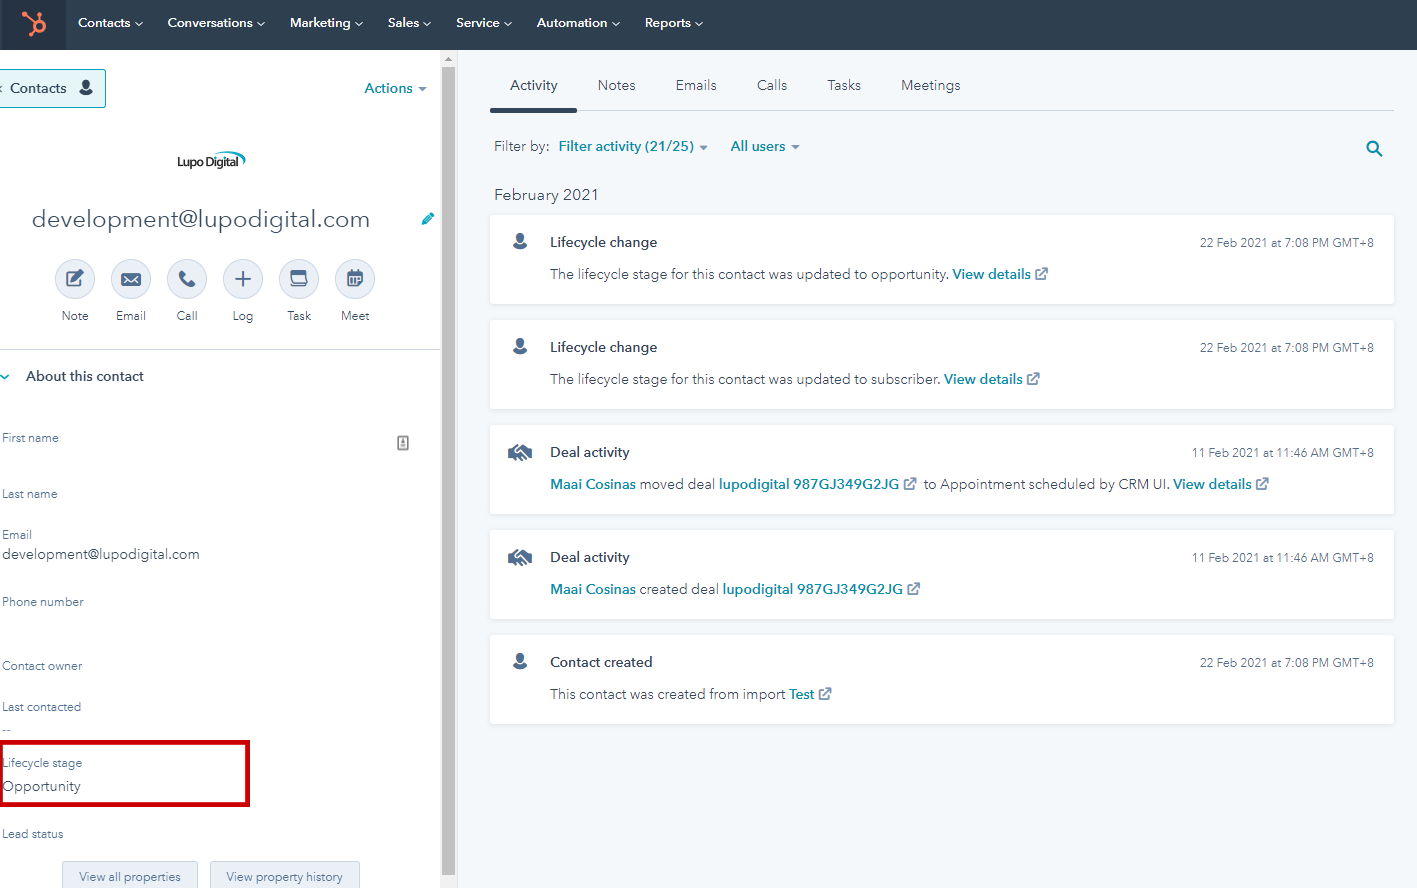
3. Once done, click on the Save button
Setting the Lifecycle Stage Property within HubSpot Workflows
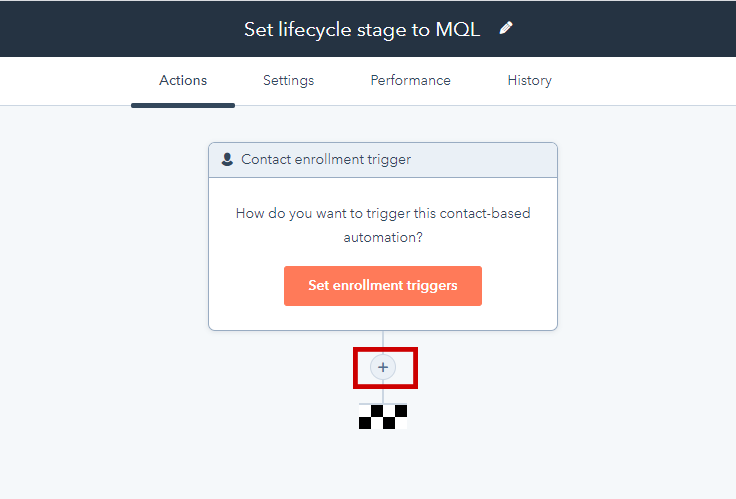
Setting the Lifecycle Stage property can be automated using the HubSpot Workflows. The triggers and logic will depend on the Workflow that is being created. Here’s how to create the action that will do this:
- Click on the plus button to create a new action
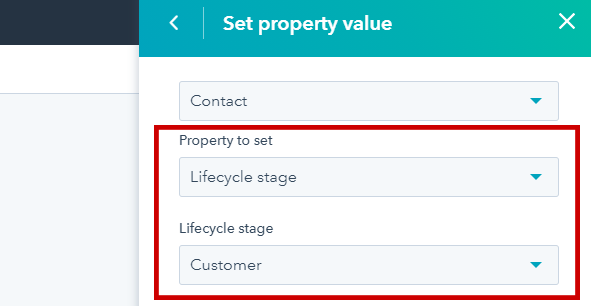
- On the right-hand side, select set property value
- Select the applicable object type - whether it is a Contact or a Company object that needs to be updated, please note when working on a Contact based workflow, selecting Company in this step will update all associated Companies and vice-versa.
Note: If you have any concerns or are unsure of the implications we recommend you Contact Us or contact HubSpot Support - Select Lifecycle Stage as the “Property to set”, then select the desired new value. In the example below, the new value for Lifecycle Stage of the Contact is “Customer”
- Once done, click Save to add the new action into the Workflow.


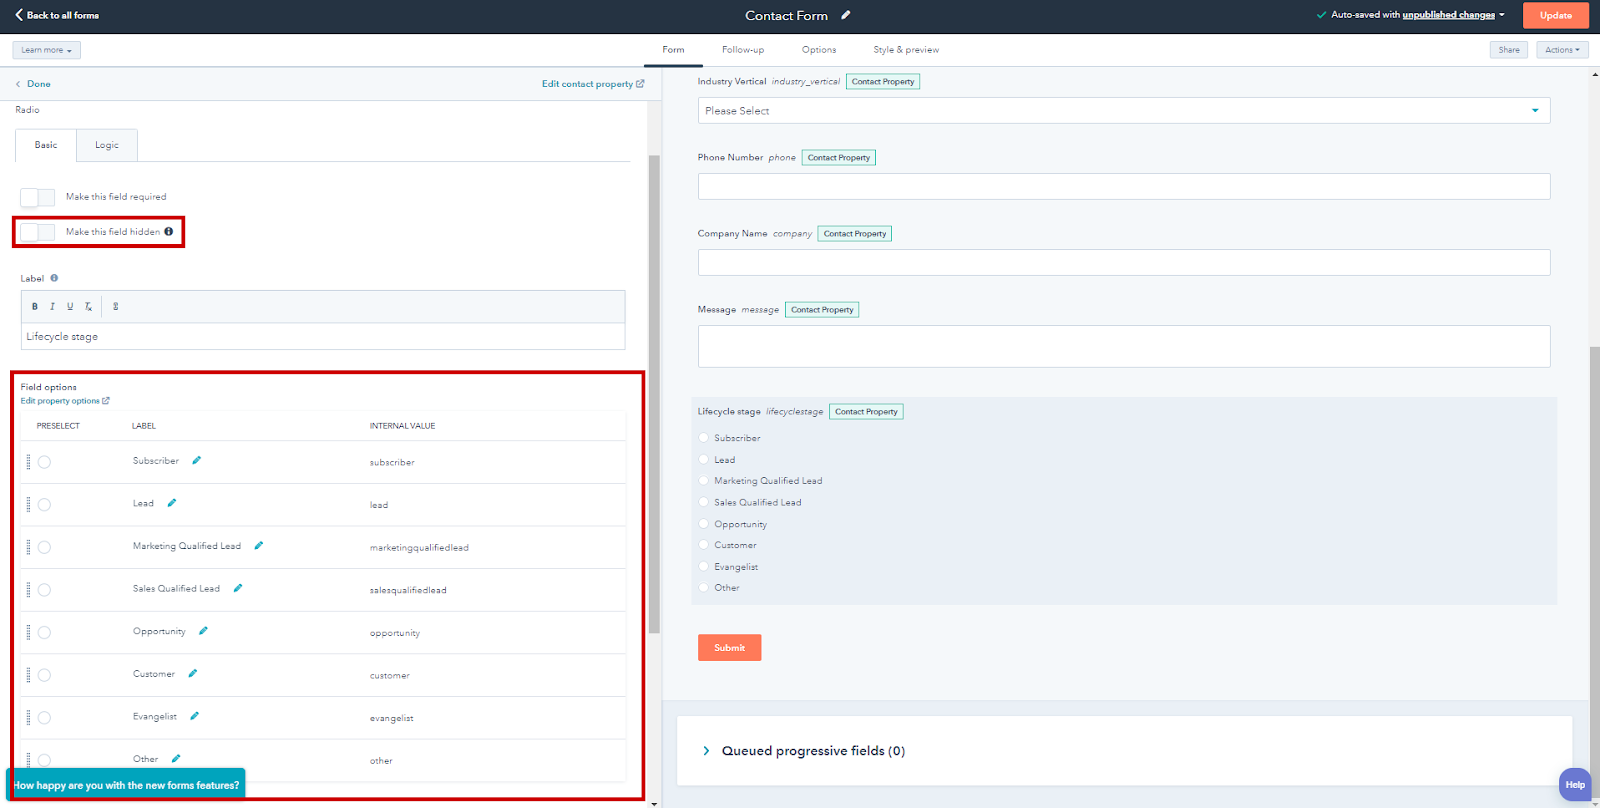
Setting Lifecycle Stage on HubSpot form submissions
HubSpot form submissions either create or update HubSpot contacts. To be able to update the Lifecycle Stage property, a hidden field needs to be added to the desired HubSpot form. Here are the steps:
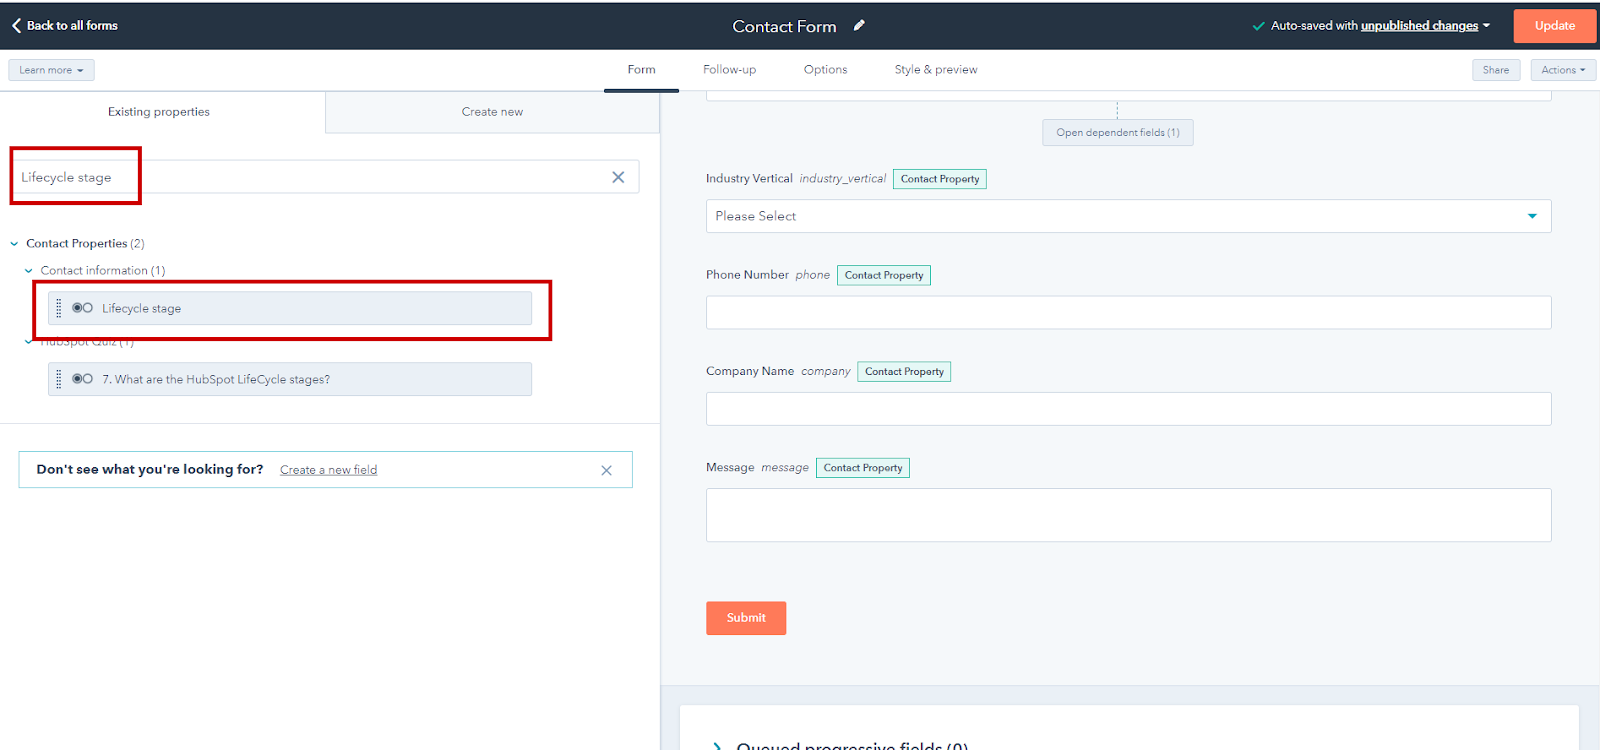
- In the HubSpot Form Editor page, search for the Lifecycle Stage property on the left-hand side.
- Drag the property to the right-hand side to add it as a field of the form. Form field options will appear on the left-hand side.
- Tick the “Make this field hidden” option so the field is not visible on the form. Then select the desired value for the Lifecycle Stage property.
- Once done, click the Update button in the top right corner of the screen.
There you have it, you have just learnt 3 possible ways of updating the lifecycle stage. If you have any questions feel free to Contact Us!